Harvesting Seeds from Sabal Palms
Sabal Palms: Patience is a virtue
Patience is a virtue that many don’t get a chance to practice anymore, but for us Sabal growers, patience is the center of everything that we do. When people stroll through a nursery there are seedlings, but what about those much older trees? How old are they? What was the journey from seed to a very mature insta-specimen in your yard? Everyone wants things quickly these days and don’t realize the amount of time, energy, and hard work it takes to get there. When you tell someone that the average Sabal doesn’t trunk for well over a decade their reaction is predicable: That is a LONG time!! That trunking palm has to start somewhere though and that journey starts as a seed. In this blog post we’ll walk through that entire journey. I’ll show you where we get our seeds, how we collect and husk them and ultimately how we germinate them.
How do Sabals seed?
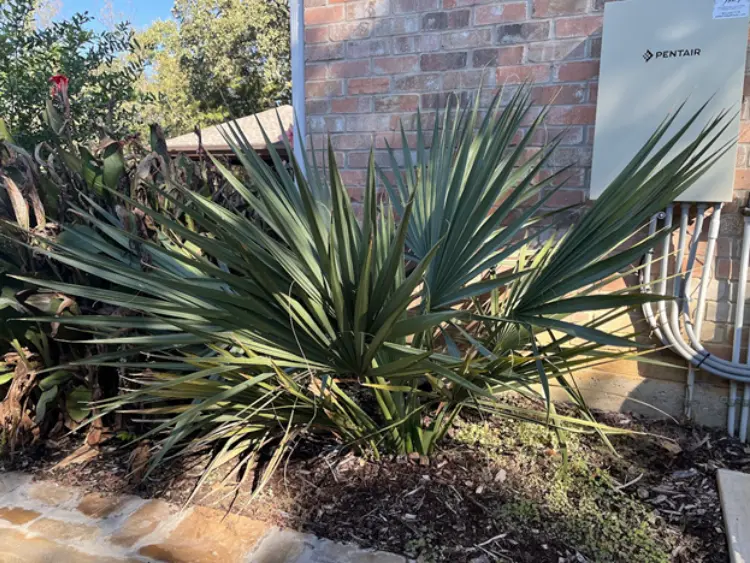
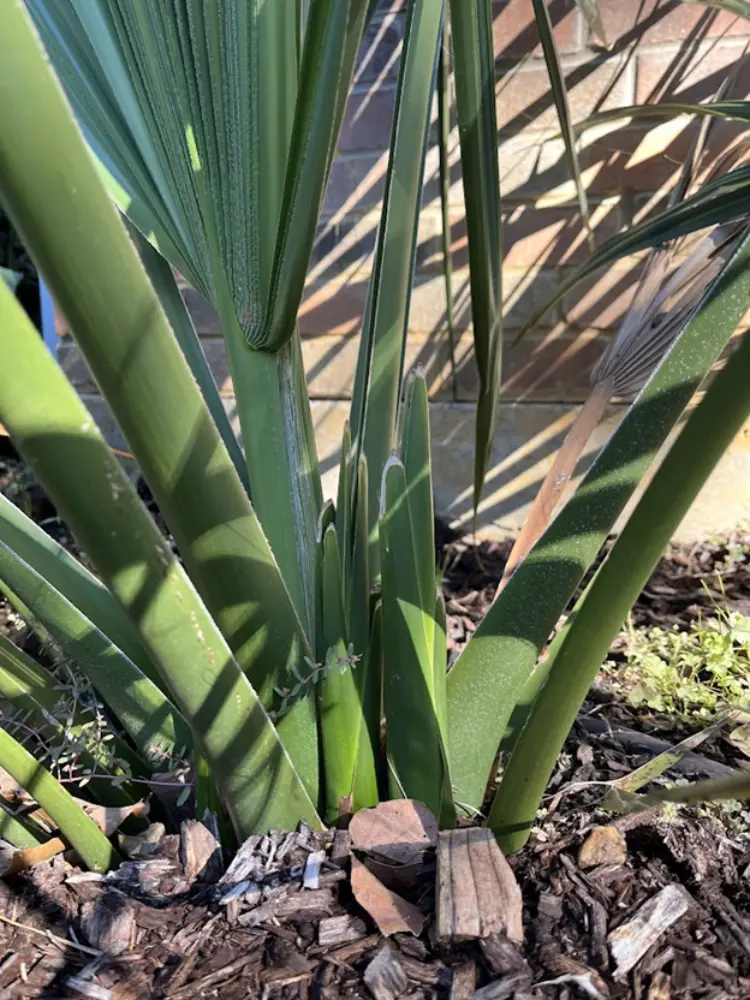
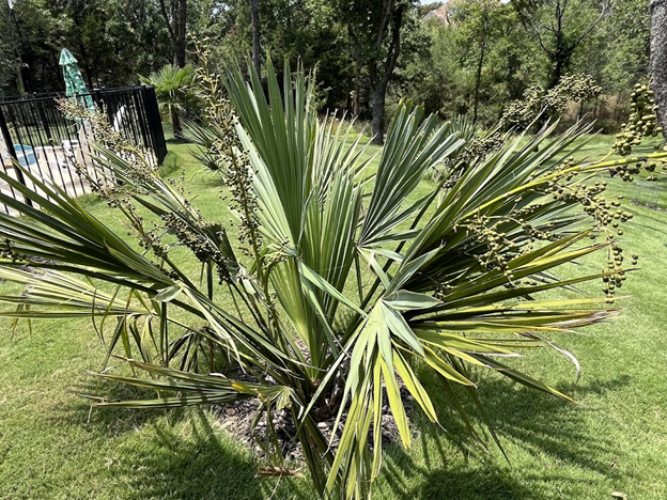
Sabal palms seed at different ages, but when they are ready you will see the seed stalk being set (in the south they set during autumn and push during the spring). When spring comes, you will see those seed stalks turn into inflorescences. These are defined as being the complete flower head of a plant including stems, stalks, bracts, and flowers. Each Sabal is different in terms of the length of the inflorescence and this aids in the specific species identification. You do not need to look for a specific male or female plant as they have both. Upon reaching maturity, all of your Sabals will seed. After the flowers are pollinated, they start developing seeds. The seeds will typically take the full season to ripen and for us here in North Texas are generally ripe going into early autumn.
Harvesting the seeds
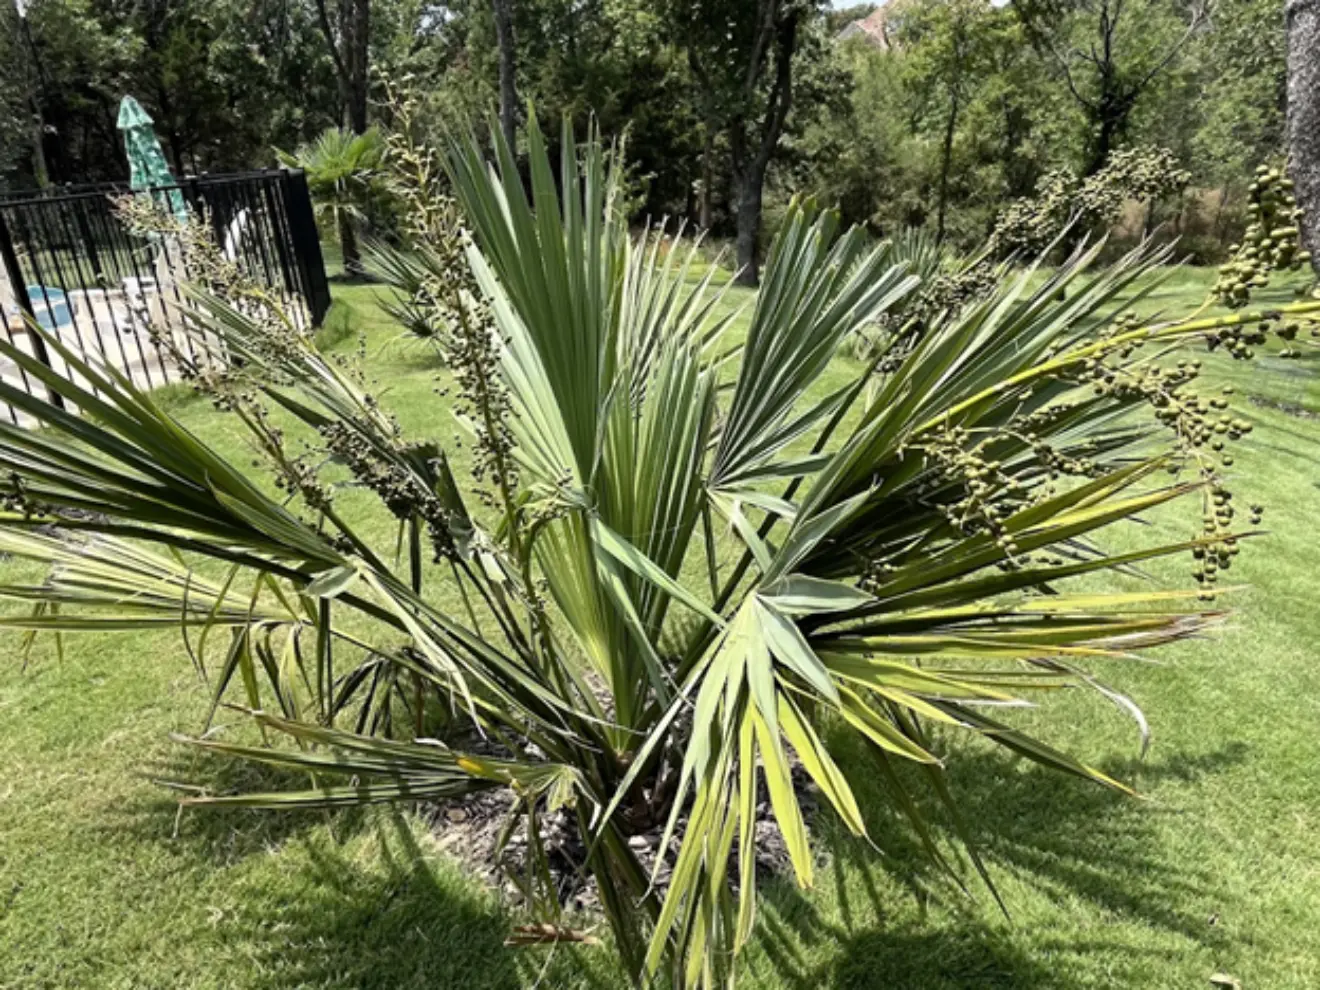
When the seeds are black, and ripe you need to get as close to the base (or trunk) as possible, and cut the entire inflorescence off. My trick is to take a nice big contractor bag, put the entire inflorescence in there, and cut as the base so any loose seeds fall into your bag. Repeat that process for each one on the palm. You’ll end up with a nice crop of seeds like below. These are the harvested inflorescences of the above Sabal louisiana.
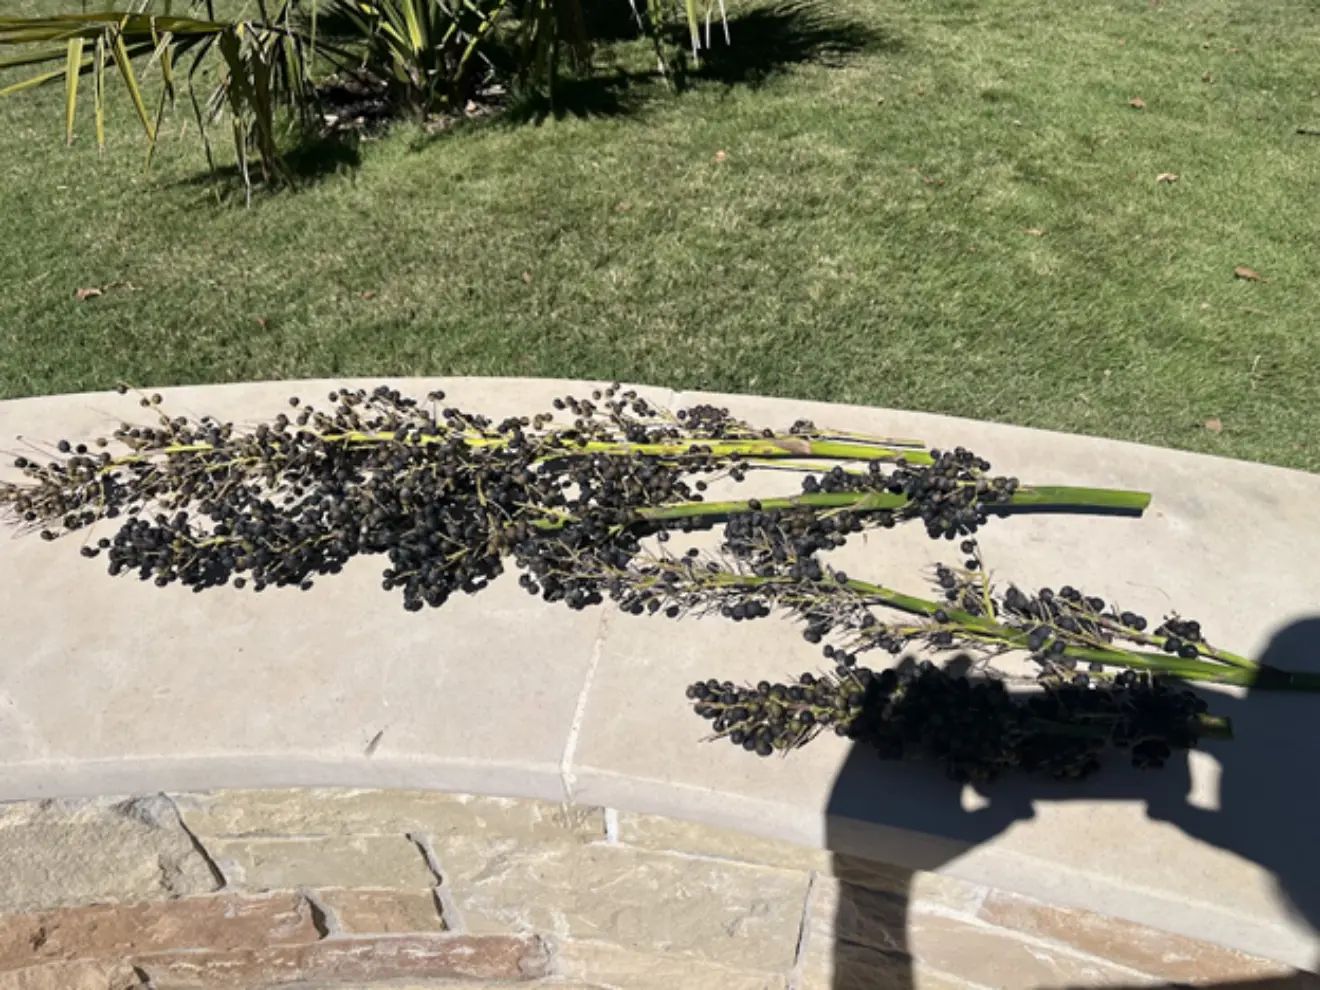
Once you get this all into a garbage bag you just need to put your hands in, and start popping them off the inflorescence. This is tedious, takes some patience, but eventually in a good year, you will be rewarded with an entire bag full of beautiful Sabal fruit.
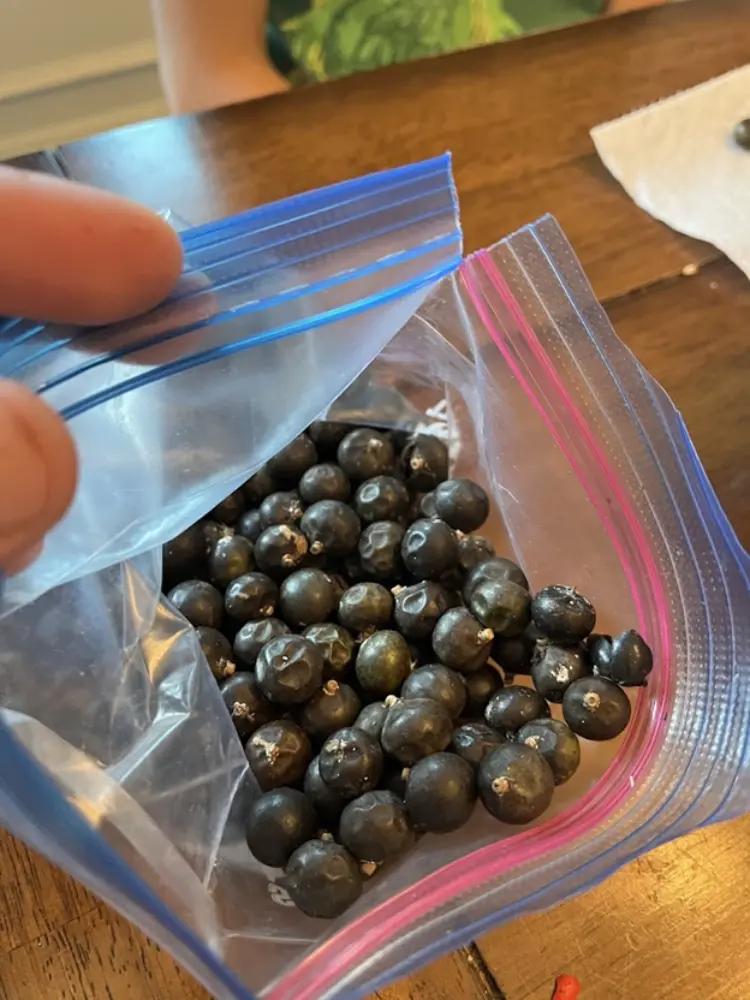
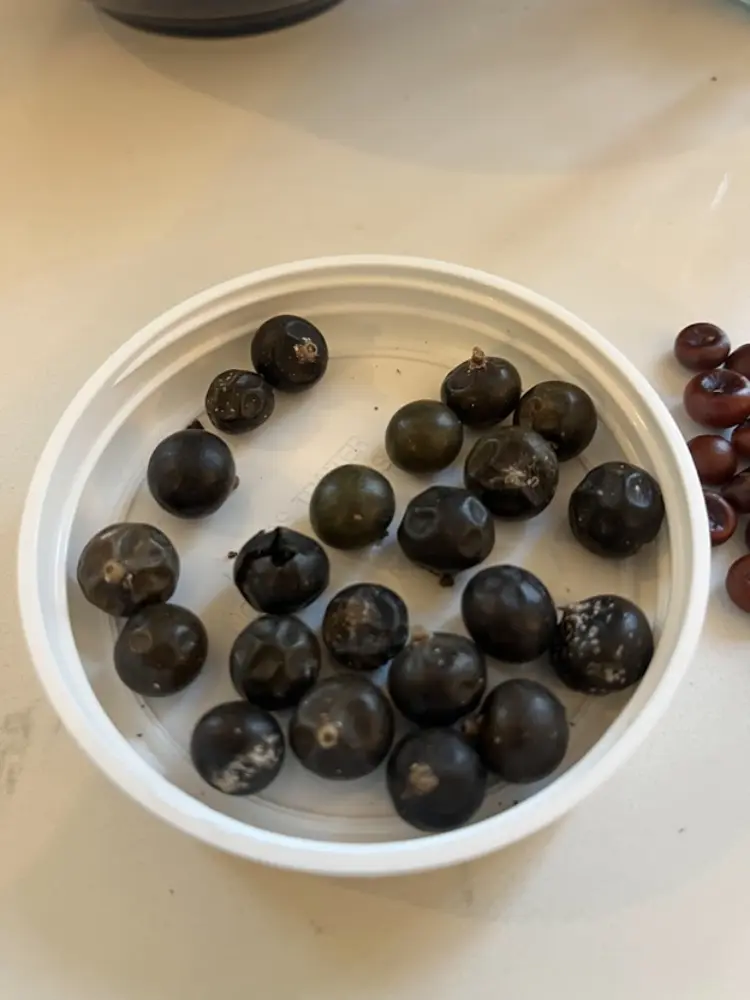
Now that you have a large volume of Sabal fruit… what now? You don’t have to, but if you are a perfectionist like myself, you need to remove the outer fruit layer, to expose the beautiful Sabal seeds underneath.
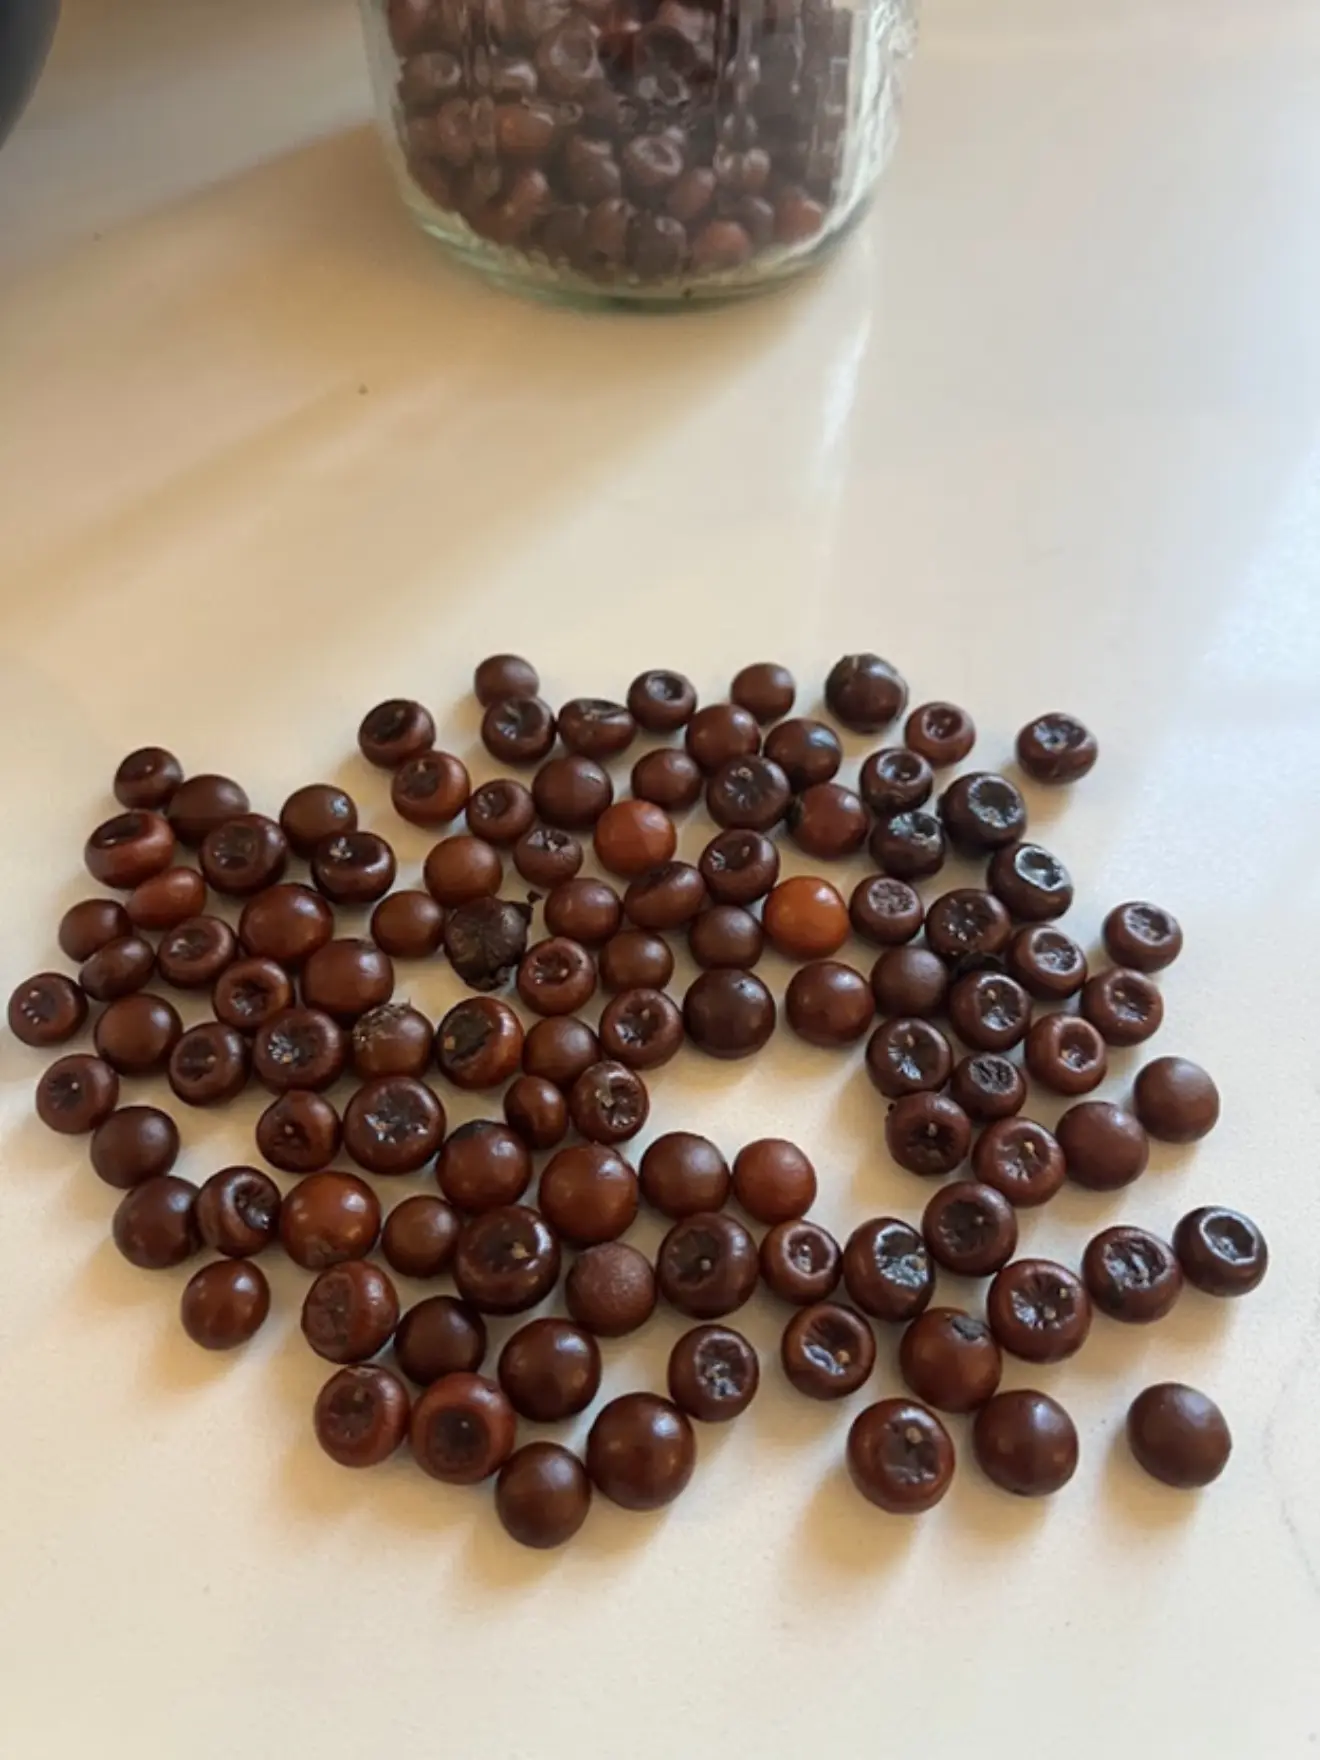
Every single Sabal species has a unique inflorescence, fruit and seed size which is really the only way we identify them. That is a very complicated topic, and something we’ll cover in a further post. It is really quite fascinating with quite a bit of detail built into it.
So now what? We have spent years growing our Sabals, were patient, and now have seeds. In our next blog post, we will stage in the process which is germination. Come back, and see how we go from seed to seedling… and beyond!
If you enjoyed this post, please visit the Sabal King online:
