In the first part of this series, we documented Sabals and their seeds. We showed how mature Sabals send up their inflorescences, how they blossom and ultimately how the seeds are harvested. Now with the seeds harvested, we need to do something with them; so in this write up we will take you further along the journey to the germination stage.
Preparing the Seeds
Once the seeds are ripe and ready to harvest we need to clean them. Cleaning doesn’t consist simply of washing the seeds but removing pests as well. Pests can take a perfectly bountiful harvest of seeds and hollow the seeds out in just a few weeks. What a disappointment! The biggest enemy to deal with is the palm weevil. I work with a lot of seeds from a variety of sources so quarantining seeds and making sure we don’t have unexpected visitors is of utmost priority. Regardless of whether you get seeds from your own palms, or from some other source it is best to make sure nothing is tagging along for the ride.
Cleaning the Seeds
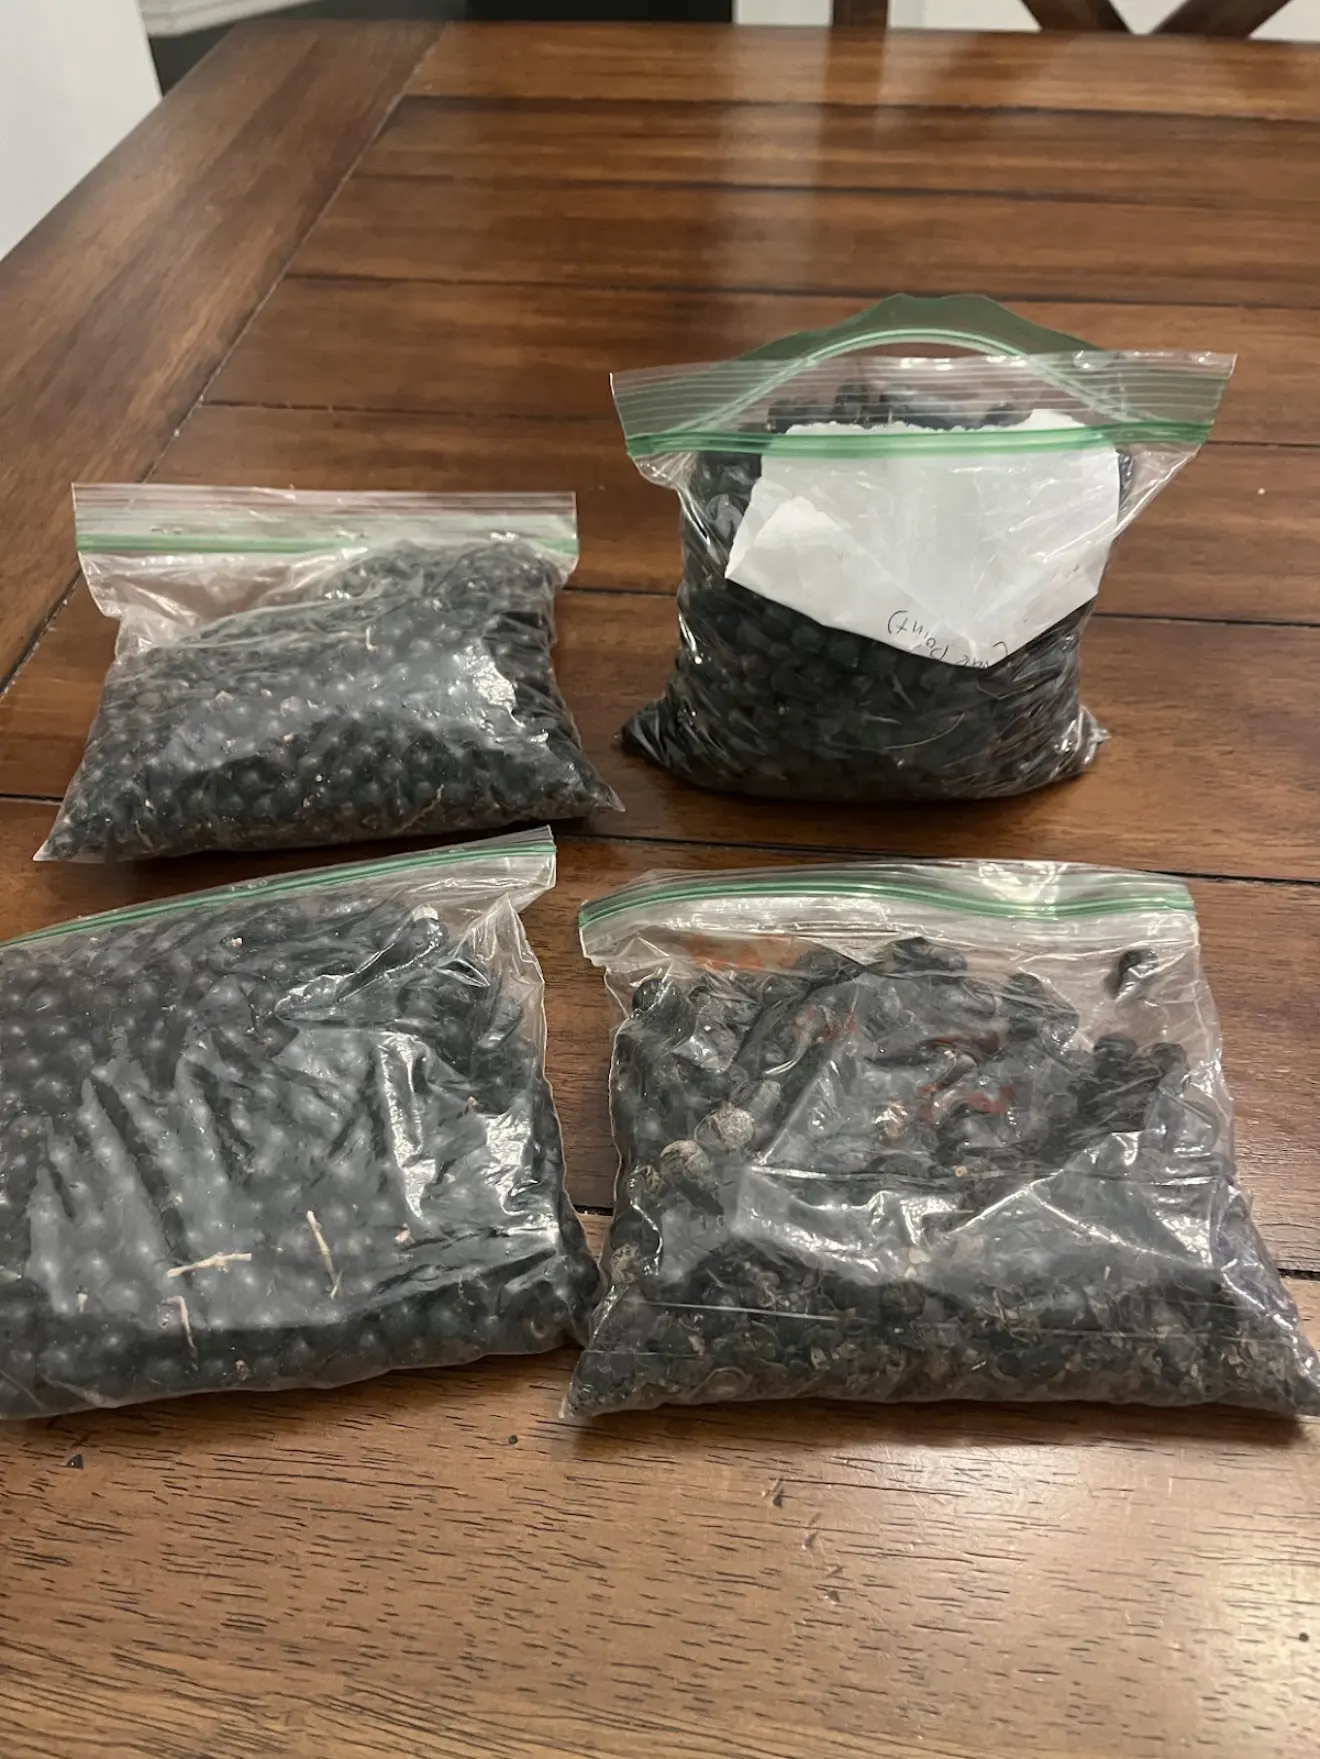
The simplest thing to do is to take the seeds in question and put them into a large container and use bifenthrin mixed with the appropriate amount of water you are using. Let the mixture sit for 24 hours per pass. Doing this two times (if needed after the first because you see movement or just want to be careful) will take care of anything that is trying to hitch a ride, both adult and larvae. There have been numerous times where I have received some prized seeds and a few days later I notice weevils all in the bag. It’s better to be safe than sorry!
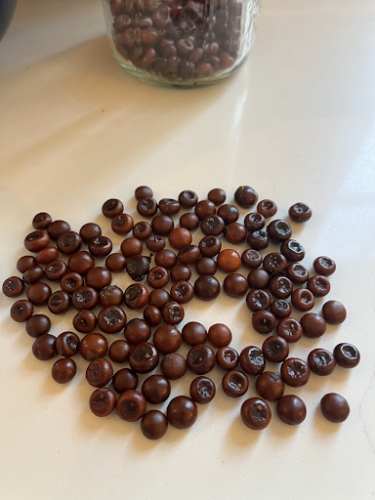
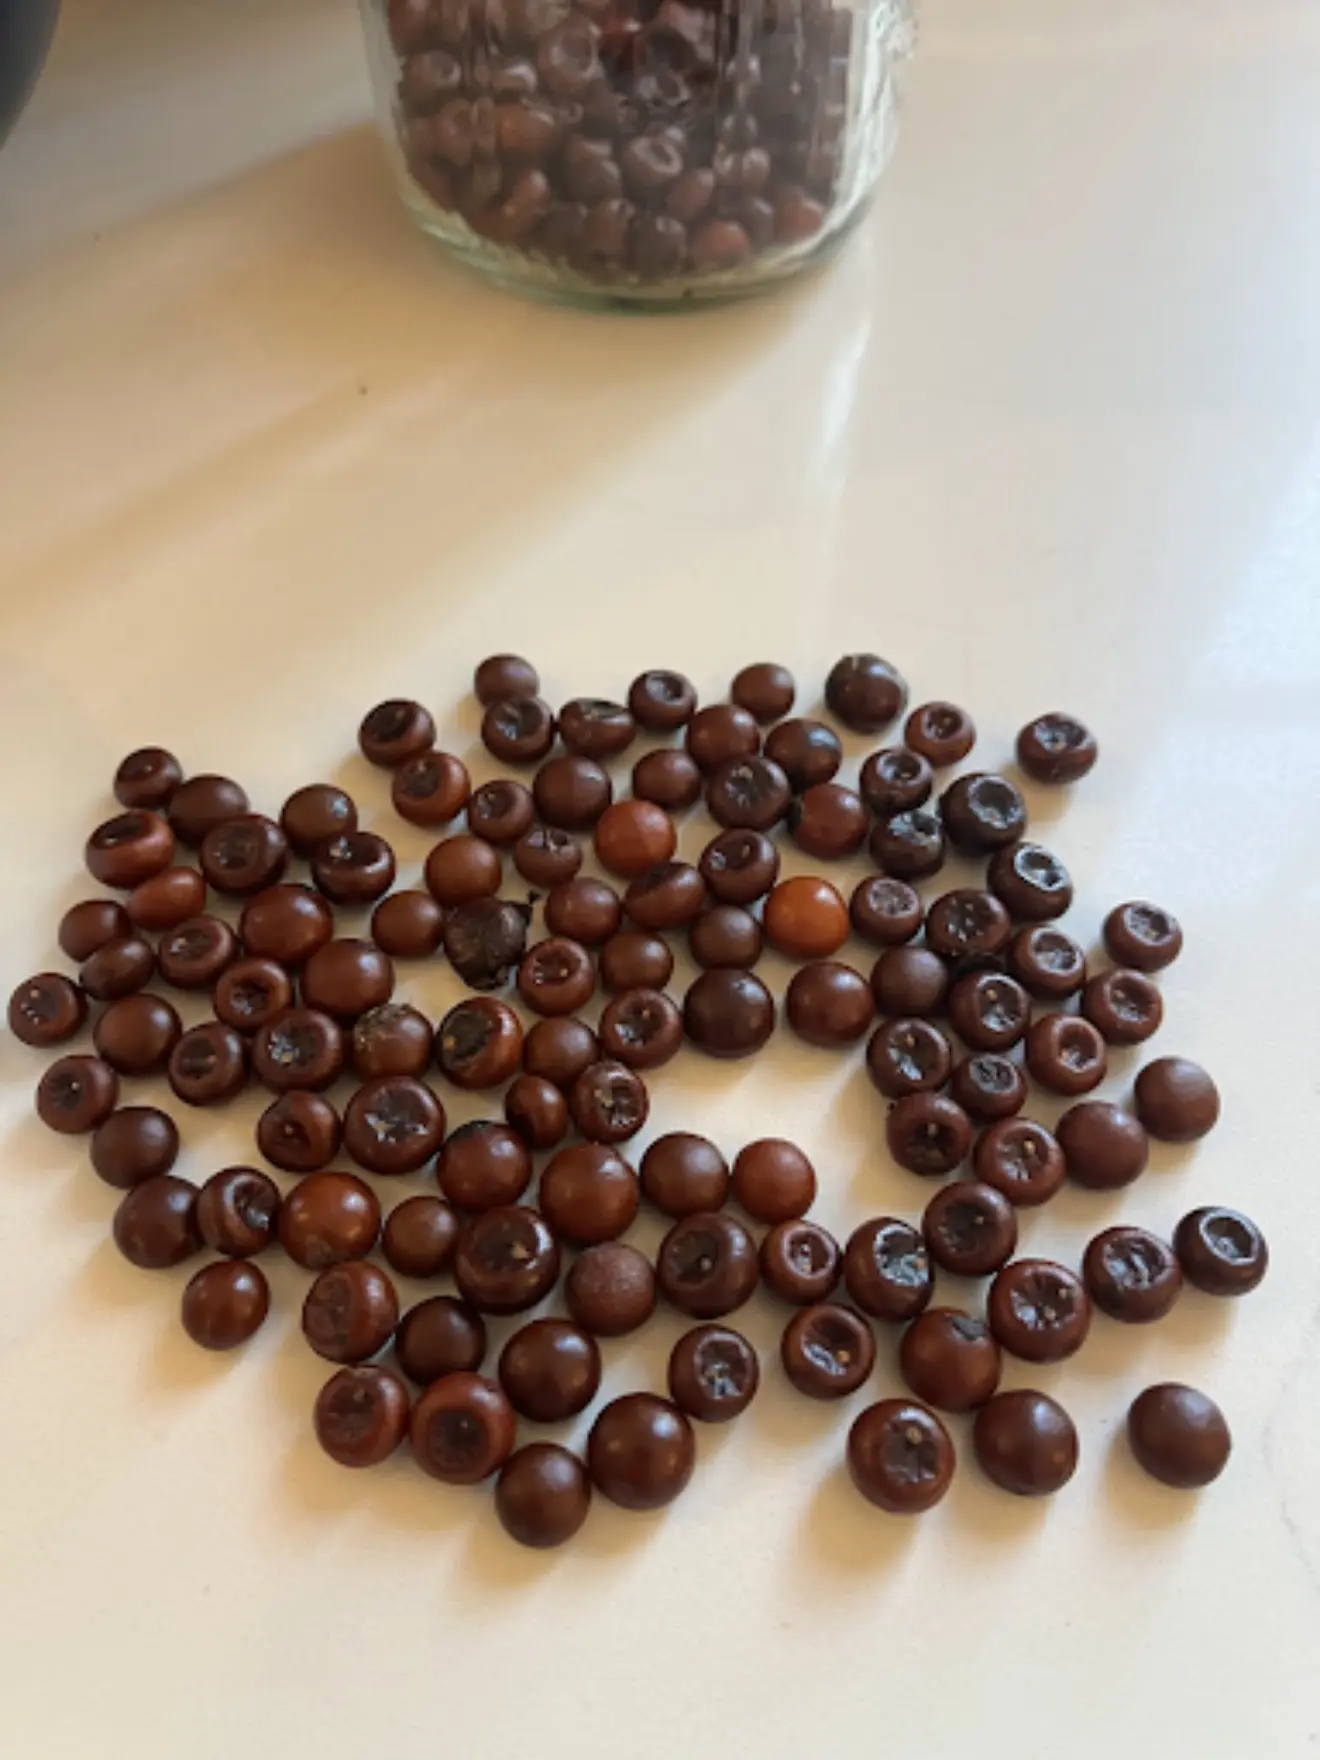
The next part is likely the least favorite part of anyone who is reading this blog, or really anyone ever. You need to take the fruits, squeeze them between your fingers, and use your fingernails to take everything around the seed off. Now you might not need to remove all of the fruit, but my OCD and attention to detail makes me remove everything otherwise I’m not satisfied. One thing I will say is that expect to have plenty of material under your fingernails during this process! I find enticing my children with some candy money seems to help speed up the process when I am dealing with pounds of seeds! The finished product is below.
Now, We Wait!
With cleaned seed it is now time to get to germinating. The first thing to do is take all of your cleaned seed and soak it for 24 to 48 hours. I have found no difference in going 24 vs 48 hours so you take your pick on this one.
Now with the seed soaked it’s time for the final part of the equation. If you are only germinating a small amount of seed, some folks will take the seeds and put them in individual seed starting pots. I am normally dealing with 100+ seeds at a time so that is just something that doesn’t make sense for me. So, I prefer the community pot method. You’ll want to take a 3-5 gallon pot, fill it 80% with a nice fluffy compost mix and then sow your soaked seeds in there. Cover the seeds with the same compost up to the top and that’s it.
At this point there are two schools of thought:
The first says you need to take the pot, put it on a heating mat, mist, and give it perfect conditions for germination.
The second (me!) takes the pot and just puts it outside to let them germinate as they wish.
Simplicity at its finest!
If you enjoyed this post, please visit the Sabal King online: